
Unfortunately, I was not in the wilderness; I did not have a large bonfire at hand nor did I have any graham crackers. :( So the second best thing would be to make Rice Crispy Squares! :)

I like this recipe a lot because it is simple and it turns out well every time just as long as you follow the steps to a tee with patience as your guide. With just several ingredients, several steps of instruction, and several kitchen equipment to wash after all the baking is done, you will have a nice-looking snack (who doesn't like to see ooey-gooey sugary goodness?) that is sure to please all sweet-toothed friends.

1. 5 cups of small marshmallows
2. 6 cups of rice crispy cereal
3. 1/4 cup of butter (use the real stuff...it tastes much better!)
4. The block of butter (you will use this block to swipe the spatula to press down the rice crispy mixture)
5. 2 1/2 teaspoons of milk (any percentage. I used skim)
~~~~~~~~~~~~~~~~~~~~~~~~~~~~~~~~~
1. One 9 x 13 baking dish
2. One sheet of wax paper that spans the length of the baking dish
3. Two silicone spatulas (one with a side that is completely flat)
4. One 1/2 cup measuring cup
5. One 1/2 teaspoon measuring spoon or a small sauce dish
6. One large non-stick skillet
7. Stove top
Instructions to make Great Rice Crispy Squares!
Time: 1 hour and 30 minutes in total (30 minutes baking and 1 hour for the treat to rest).
(recipe adapted from Allrecipes' Marshmallow Treat Recipe)

1. Put the large non-stick skillet on a stove top at low heat (this means degree 2 to 4).
*DO NOT turn it to high heat. High heat will brown the butter and produce dry rice crispy squares. Not only will the squares look ugly, they will taste bad too.So be patient my friend!*
 2. Put the 1/4 cup of butter in the skillet. Stir it around with a spatula to melt it.
3. Once the butter is melted, add the 5 cups of marshmallows.
*Use the 1/2 cup measuring cup to measure out the 5 cups (1/2 + 1/2 = 1 cup!). You will thank yourself later when you only have this and a few more items to wash after the baking.*
 4. Stir the marshmallows from time to time. At first it will seem like the marshmallows are not melting. Give it two to three minutes. You will start to see they all form a massive white blob of sugary goo!
5. Once you see the goo, add 2 1/2 teaspoons of milk to it. Stir the two together. This is the key to making your rice crispy squares even gooier!
6. Using the same 1/2 cup measuring cup for the marshmallows (save your time and water!), measure out 6 cups of rice crispy cereal and put them on top of the marshmallow goo.
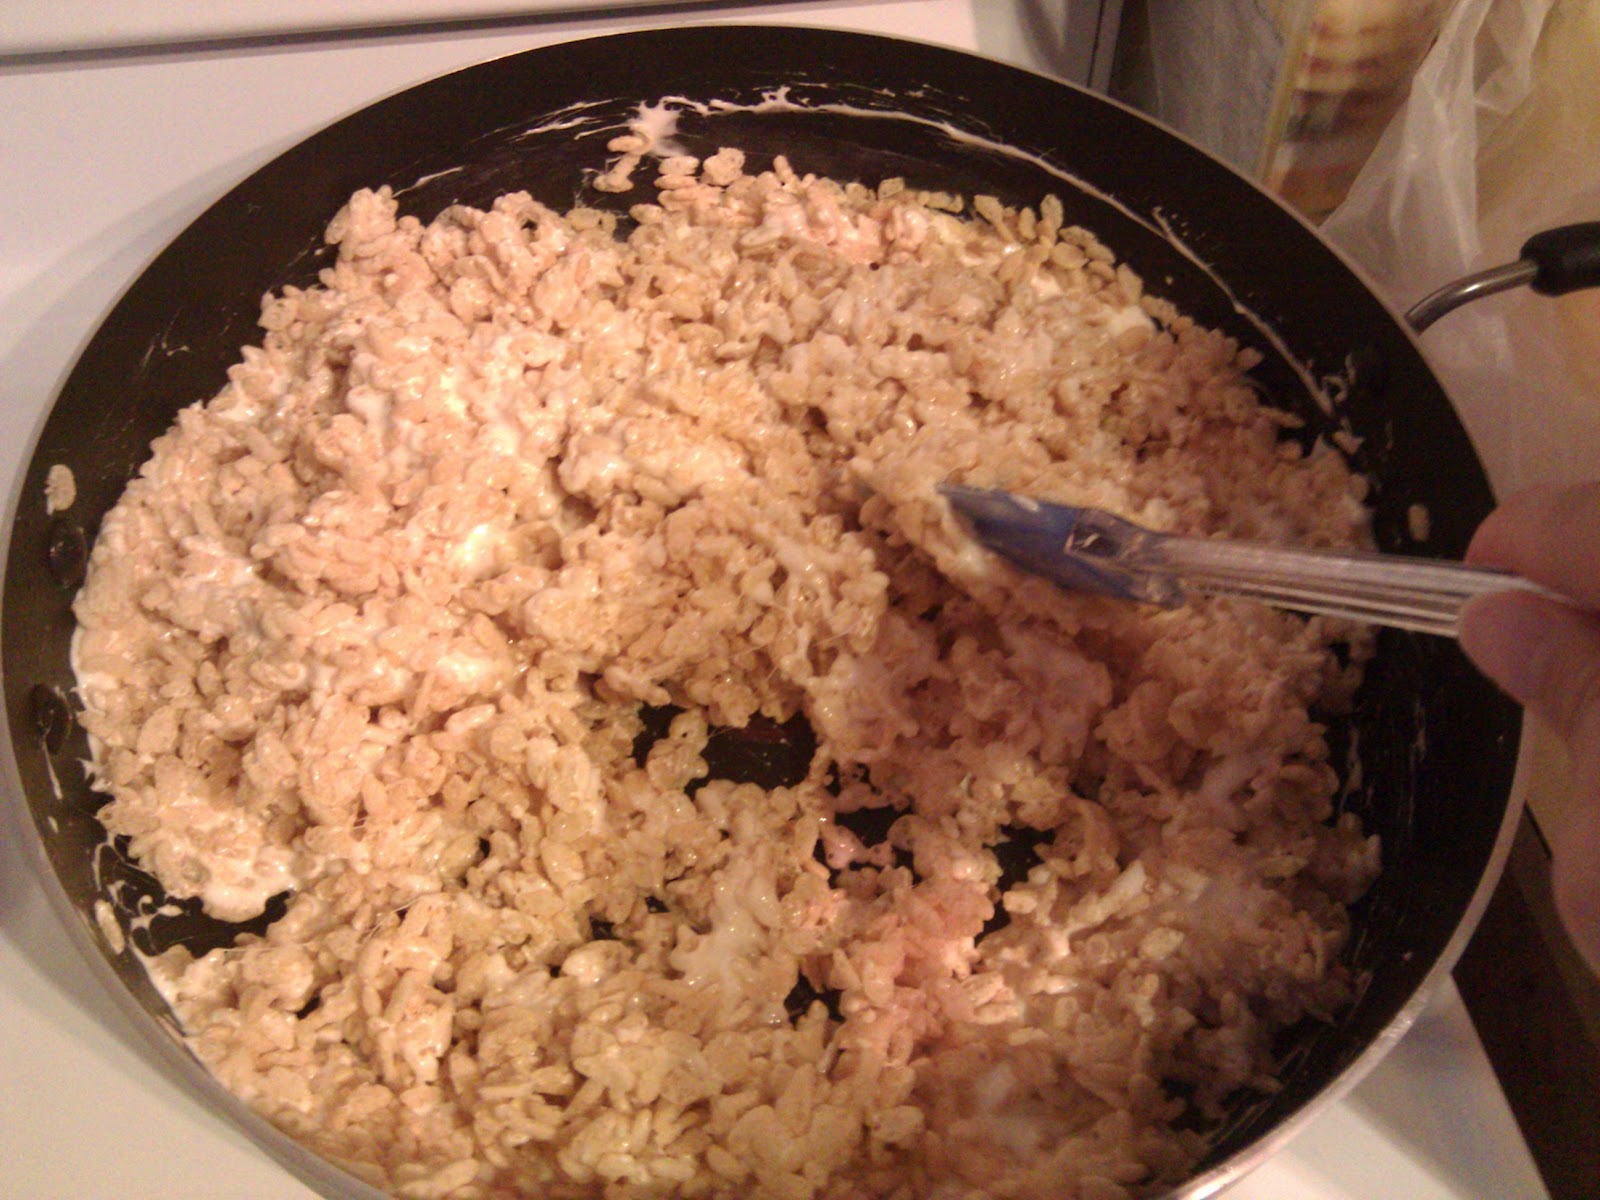
7. Turn off the heat. Quickly use a spatula to combine the marshmallow and the rice crispy cereal together.
*Try to do scooping and circular motions. This will ensure all the cereal is well covered with the melted marshmallows.*

8. Line your 9 x 13 baking dish with a sheet of wax paper.
*The wax paper will contain all the sugary goodness, allow you to easily lift up the squares once they are ready, and give you a free pass from cleaning your baking dish after the baking!*
9.Use the same spatula you used for melting the butter to scoop out the rice crispy and marshmallow mixture into the baking dish.
 10. Now use the other spatula with the flat surface. Swipe it on the block of butter. Press down the rice crispy and marshmallow mixture with this spatula to 2 1/2 inches thick.
*DO NOT compress the mixture too much. You will break the rice crispy cereal and it become dry from the loss of air*
11. Let the mixture sit in the room or in the fridge for at least an hour. Cut the squares into any design.


^v^ ENJOY! ^v^

I admire your dedication to writing the blog. The recipe is so detailed and easy to follow. The pictures are aligned with the clear instructions. Thank you for sharing this recipe. I have a great time reading your blog. Keep up the good work!
ReplyDelete